Harp Ukulele blog:
June 9th 2012
I ended up not liking the color of the Thuya burl on Cedar. They are so close that they clash.
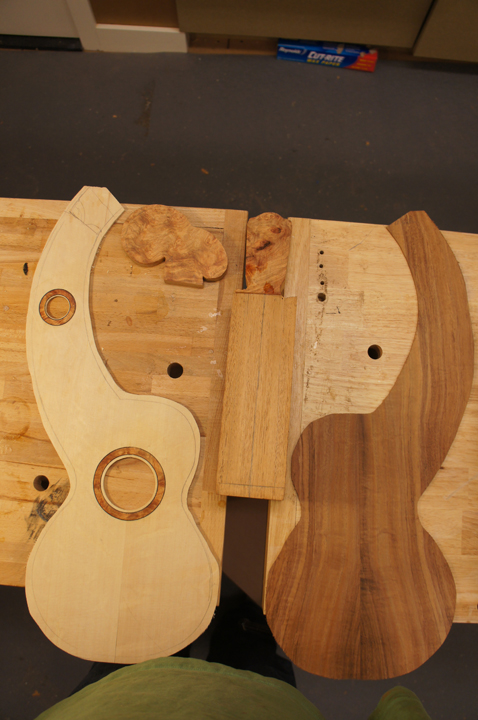
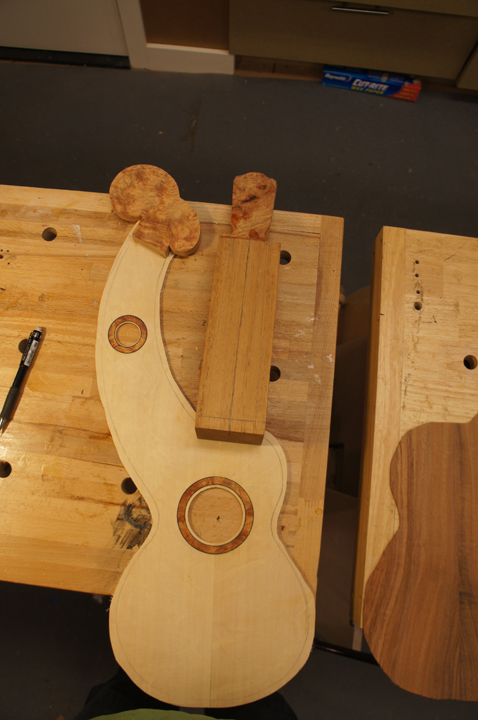
So I ended up changing my top to bear claw Sitka spruce with Amboya burl for the rosettes and the
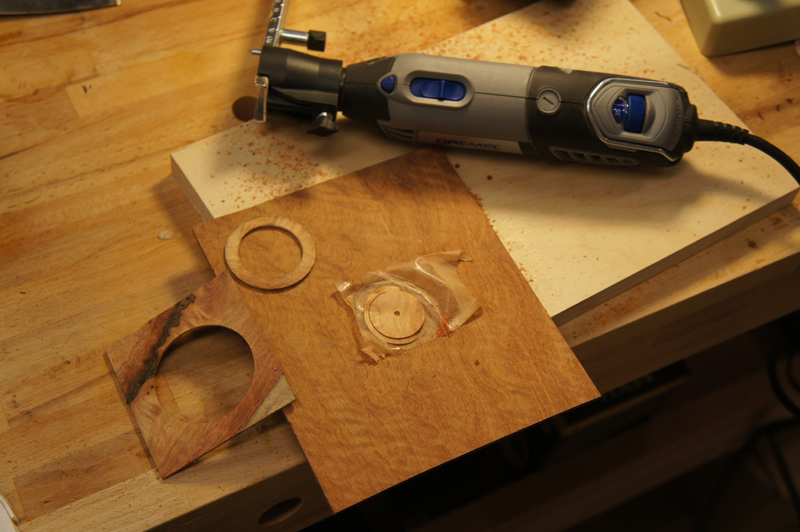
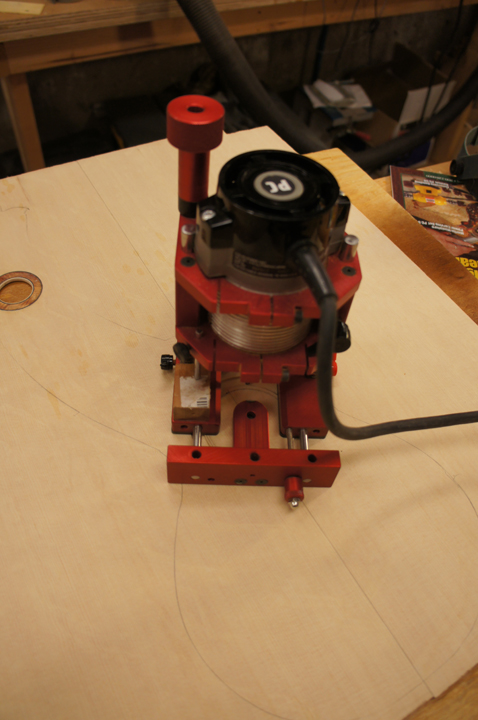
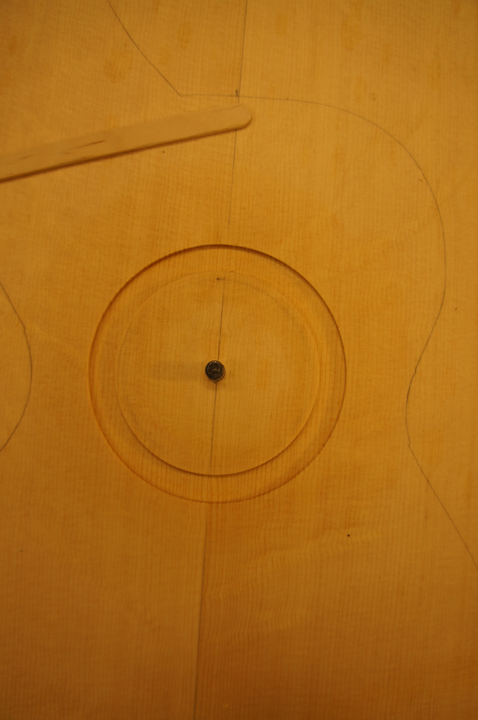
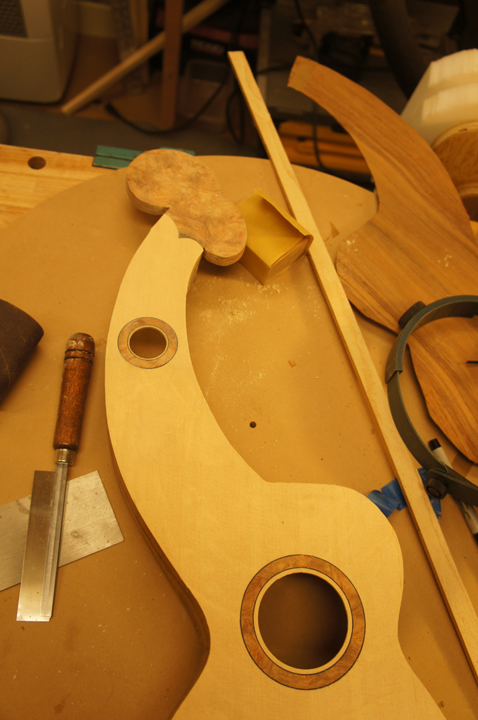
peg board veneers. I was able to make and install both rosettes. The little rosette in the harp neck was too small for my PC 310 router with the Bishop Cochran router base, so I had to use the little circle maker that came with my dremel. The little rosette was particularly hard as there is not a fret board that covers up the top of the rosette. Ultimately to get the exact size for the purfling I measured the diameters of the rebates and multiplied them by pi. Then I had the perfect size.
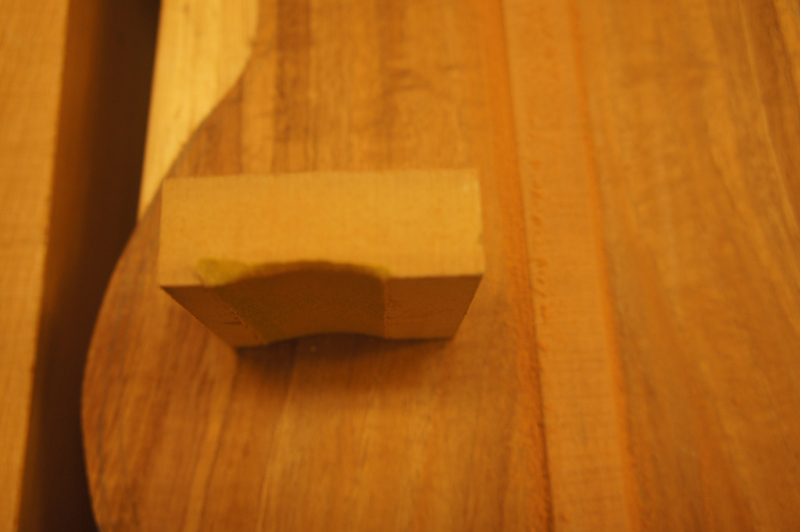
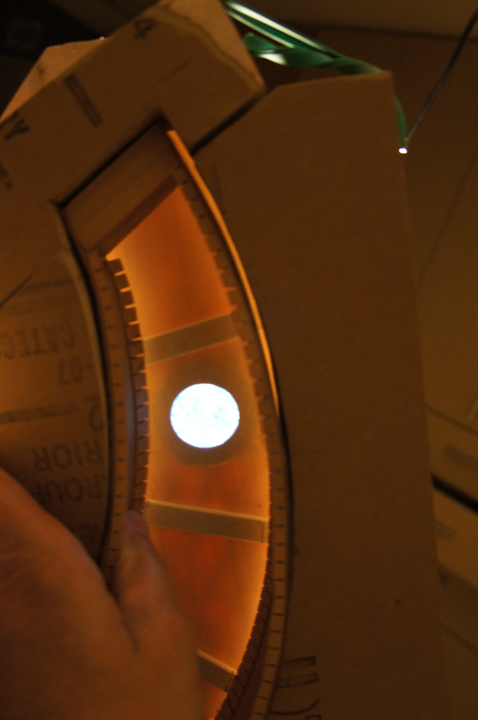
Included in the pictures show the reason I really like a good router in a stable base.
You can really see the difference in the quality of the cuts when you compare the two rebates
one made by the dremel the other made by the Porter Cable310 abd the Cochran base.

June 10th 2012
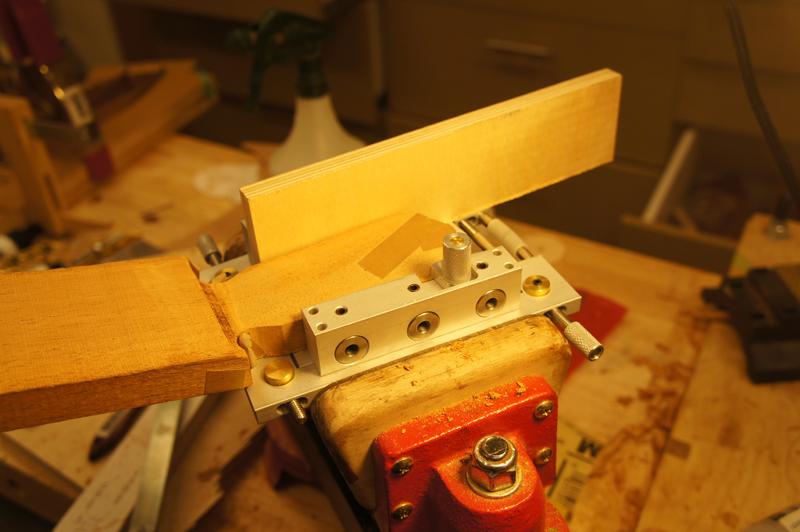
Normally I have a nice tool that allows me to drill the slot head holes and route out
slots for my acoustic and classical slot head guitars. I do not have a tool with the right
spacing for the ukulele holes or a template narrow enough for the slots. So this one I mostly
had to do the old fashion way with a drill and a rasp for the slots. I was able to jury-rig my
slot head tool as a drill guide. I had to mark the tuning machine holes and align the tool by
eye for each hole. All in all it came out ok. When I was drilling the holes at the end of the
slots I blew out the back of the peg head a bit so I sanded it down 2mm and I am gluing on a
2 mm koa back strap veneer. I was considering that any way so I was sort of forced into it.
June 14th 2012
On the back of the harp headstock there is going to be 1 " radius curve. I have a very sharp 1"
radius cove bit. A big bit 2 inch around an inch or so high. Some how I must not have tighten down
the bit well enough in the router because half way through the cut the bit took off into the
air like a whirly toy taking the board and my hands with it. I think I let go of the board but
as the bit was flying by it nicked my index finger. Ouch! Nice clean but deep cut.
I did not hit any thing important as it hit the out side index finger between the first
joint and nail.
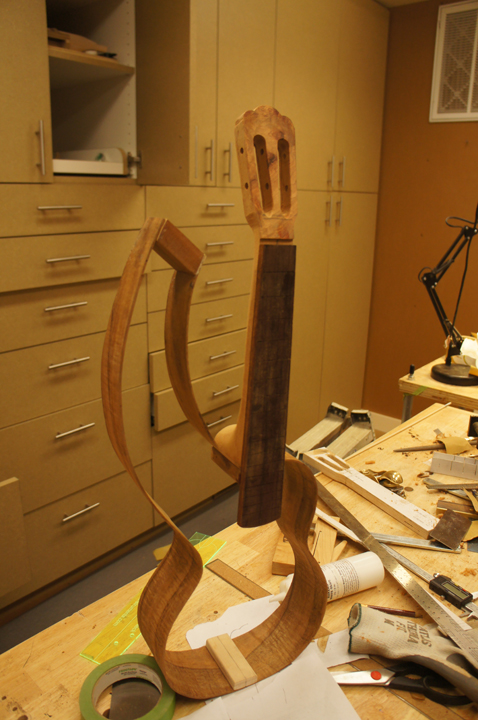
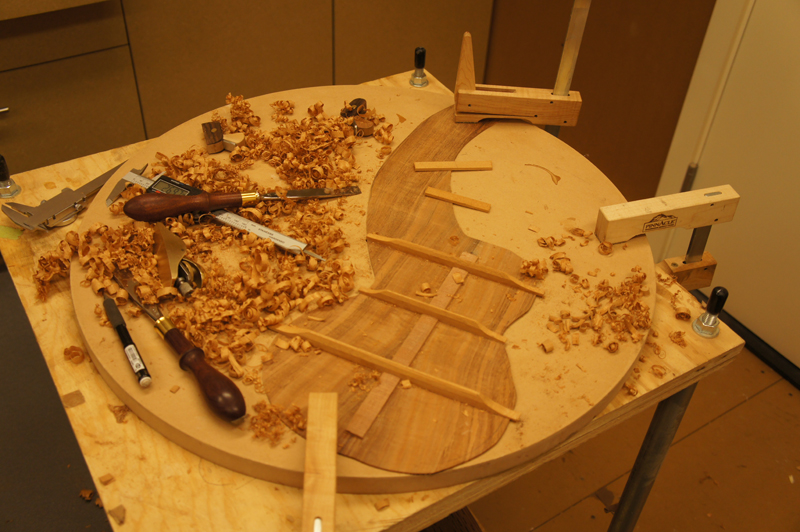
But ignore all of that; with nice safe hand tools (as long as one keeps their body parts
out of the way) I have the neck rough carved.

July 4th 2012
I was on vacation for 10 days enjoying tropical storm Debby in Orlando for most of it. But I have made a bit more progress.
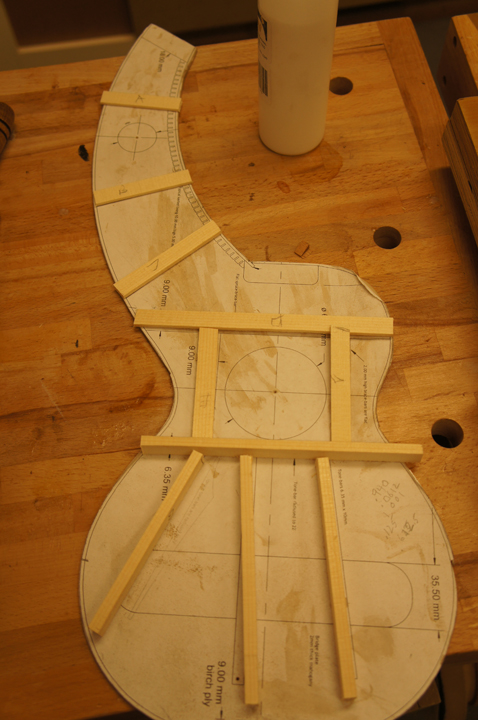
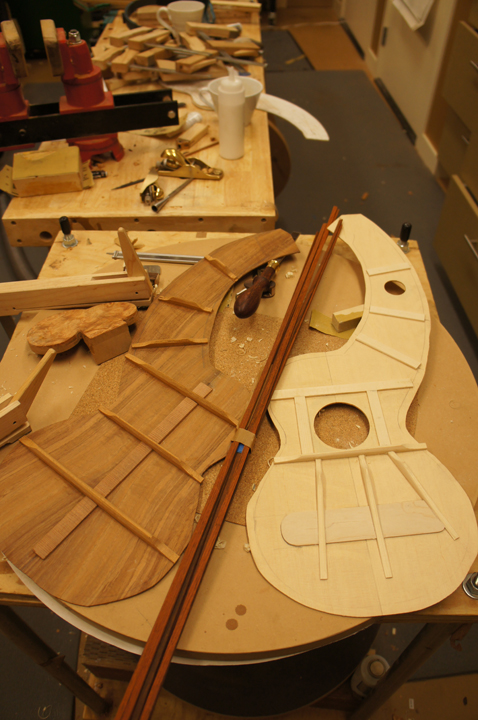
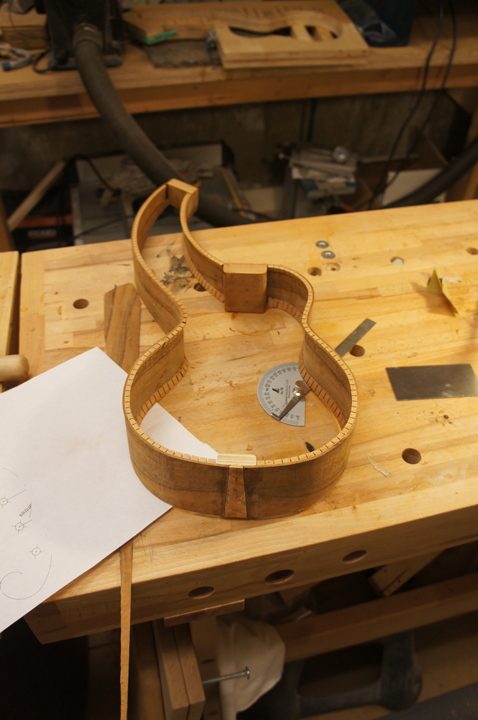
I used some scrap sinker redwood to make a back strip and rounded it off with my backstrip sanding block. The rims are profiled with some ukulele
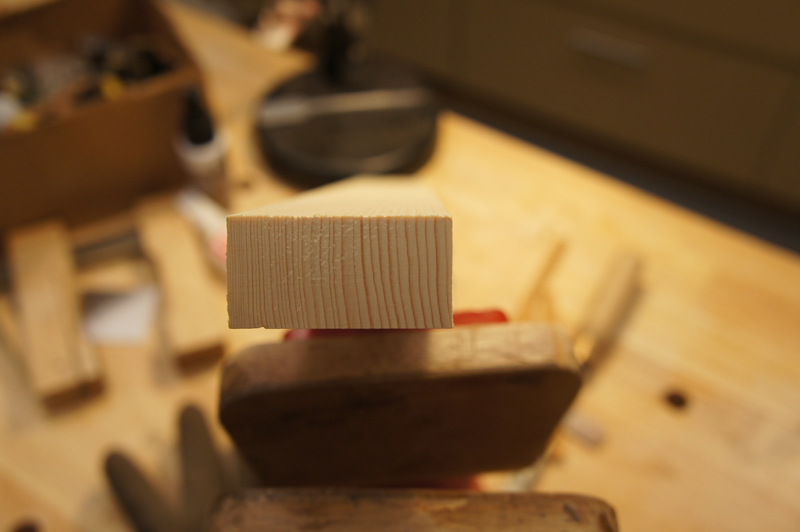
sized kerfling I got from Waldron Instruments. I chose to use some Adirondack brace stock for the top braces. The back braces are from some Spanish cedar
I have from my classical guitar projects.

July 4th 2012 later the same day
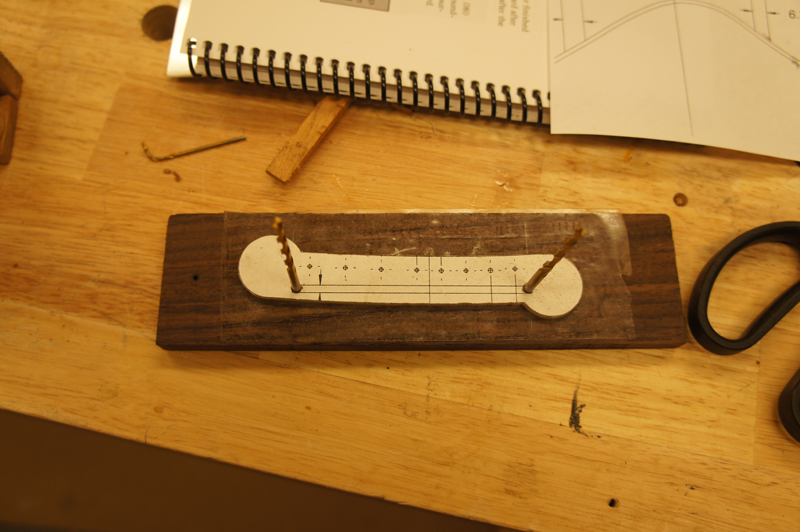
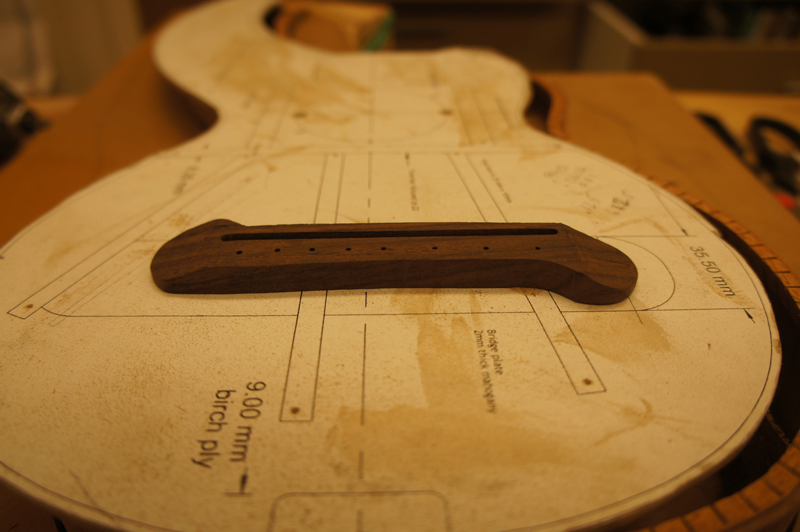
I made my first bridge today. No one seems to stock harp ukulele bridges so I was forced to make my own.
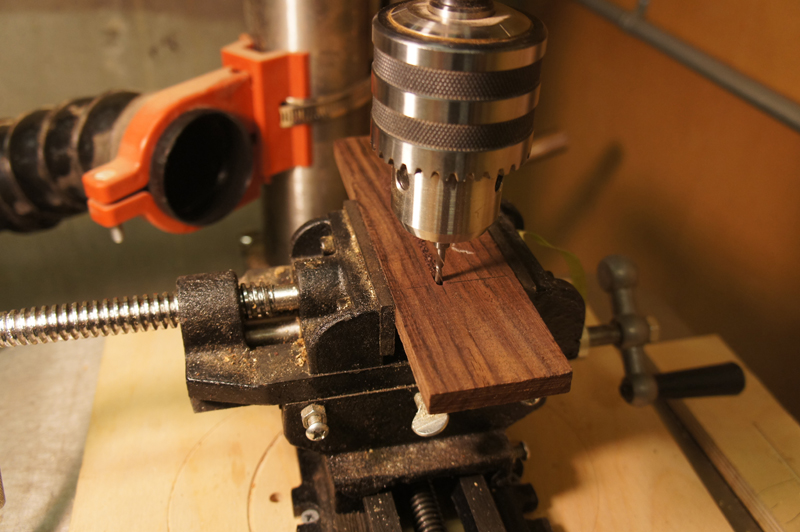
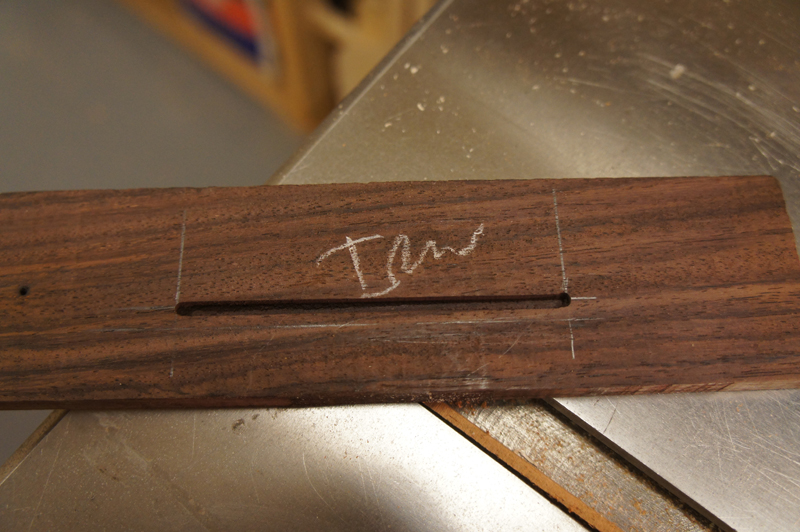
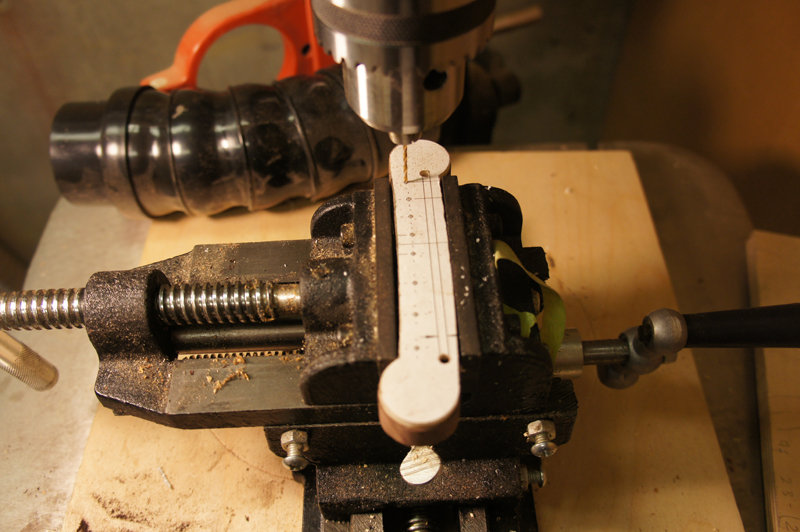
Quite awhile ago I bought a cheap under $80 cross vise. Although I am sure that it is not really accurate it is more accurate than me with a router
including using a guide. I used a 1/8th inch end mill with my table saw running at its fastest speed. I very carefully made sure that the bridge blank
was at an even height across the run and then made the plunge. I cranked away on one of the handles until the cut was finished. I ended up with a very nice slot.
I used a couple of drill bits as guides to help me tape my template on the blank and cut the rough shape on a band saw. I also played with my cross vise to drill
the string holes. After planing the bridge close to the correct thickness I used a chisel to bevel the ends of the bridge.
I am really happy with the results. It will really be clean with a bit of sandpaper.
July 7th 2012
I finished making all the components for the harp ukulele this morning and am ready to start putting the instrument together.
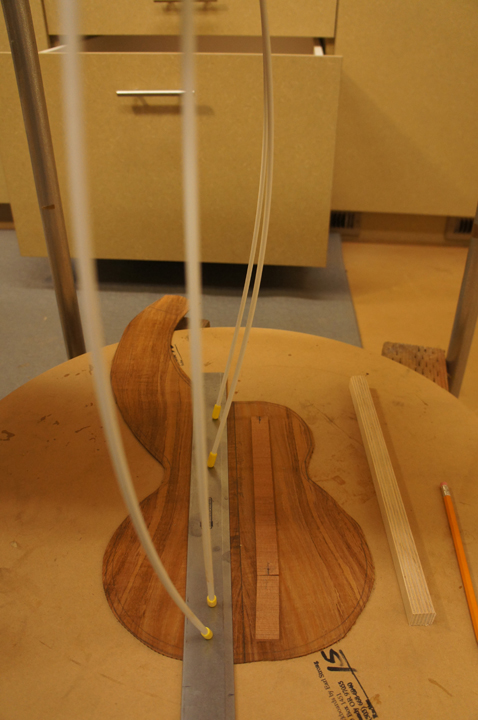
Thanks to a timely post on Kathy Matsushita's second harp ukulele blog, about binding
her instrument around the harp peg board I realized I was heading for trouble. The design has the top extend up and into the harp peg board. My initial
thought was to bind to the top of the sound box and miter across the top of the rims. The problem Kathy pointed out is as viewed from the top the binding
stops before the top does.
I could extend the binding around the peg board but I am not brave enough to try that. I finally decided to run the binding up the stalk of the organically
shaped pegboard on the top side and forgo the horizontal binding on the rim between the sound box and the peg board. On the back side I will close off the
sound box with a mitered binding. I can finish the back bindings before I glue on the harp peg board or at least route the rebate on the harp neck end block.
I think it will end up with a clean and finished look.
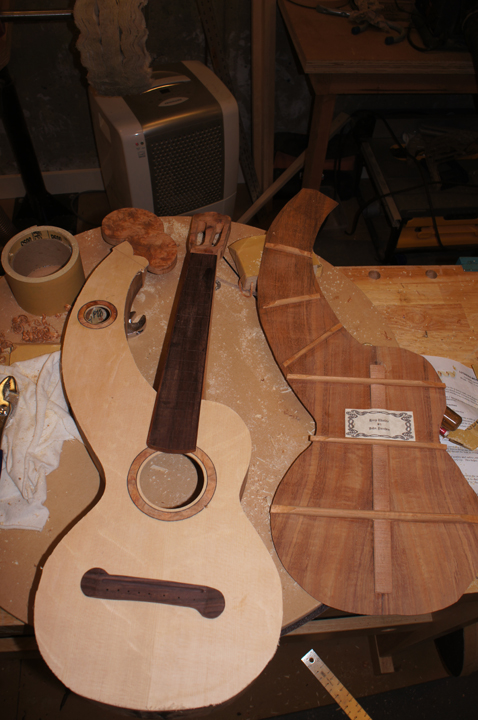
My last outstanding decision (I am sure more will come up) is what binding to use. My thoughts up until this morning was to use the cocobolo bindings shown in the pictures. I am such a minimalist design wise that I am starting to think of switching to ebony bindings to avoid adding another color to the instrument. Both the amboyna and the koa already present a lot of figure and color. I am going to use amboyna from the same block as the rosette and pegboard veneers for the end wedge. If I go with ebony bindings I can frame the end wedge with black fiber purfling. I could get a nice jointed look with no joinery. We will see; I have a few days to decide that.
I welcome any ideas about the binding wood.

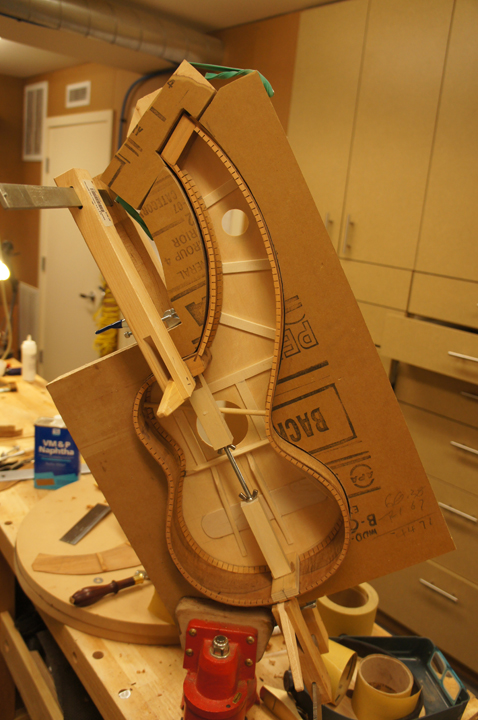
July 8th 2012
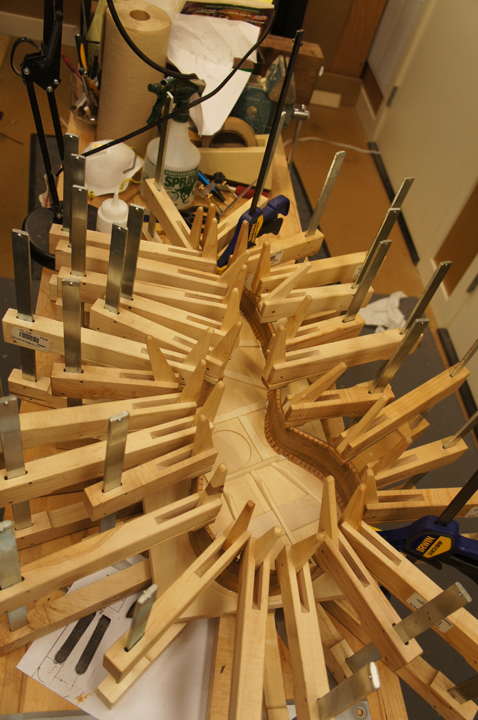
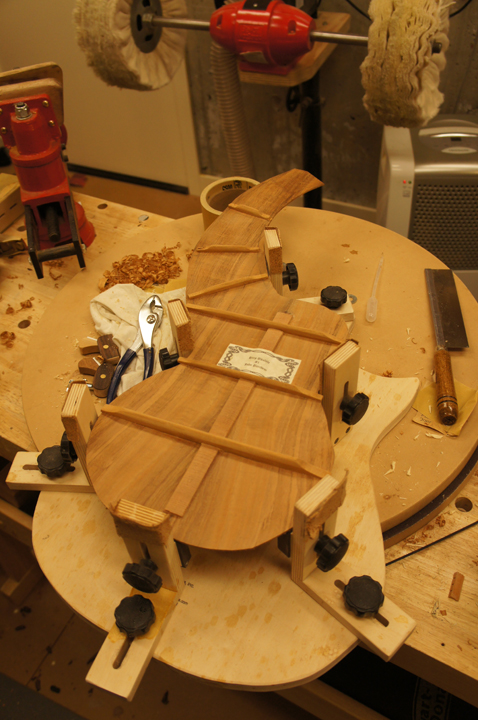
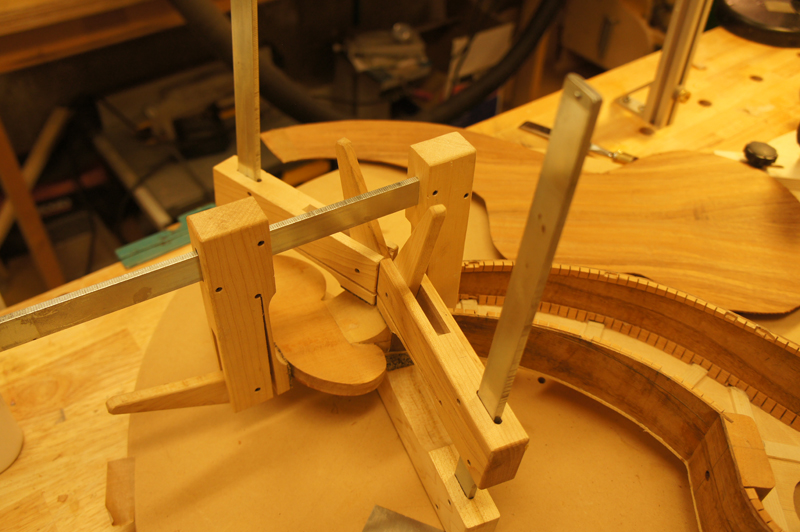
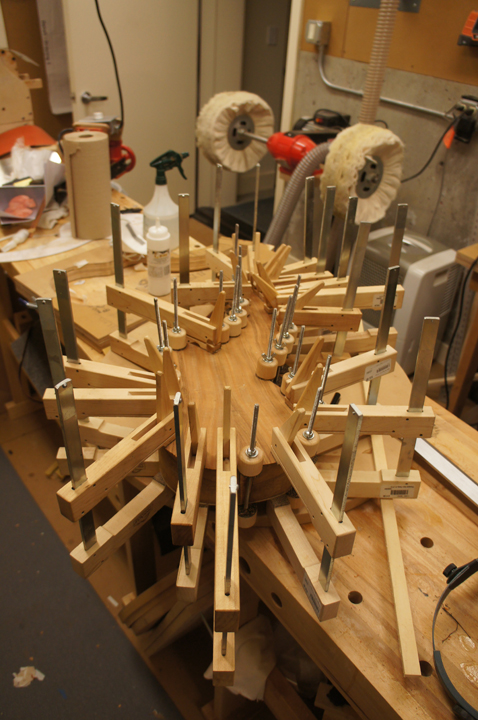
I am moving along; I put in the end wedge today and have the top glued down. Doesn't everyone have the wedges thin to wide front to back? Oh well so it goes, a design feature! more aerodynamic! I am sure the reverse direction will improve the tone. Gluing down the top was interesting. Usually I use the mold to hold the shape when I glue the first plate down. I decided not use the mold because my mold is thicker than the harp peg head block. What I did instead was, while properly aligned in the mold, mark all of the braces on the kerfling and used a pencil in key places to mark where the body was supposed to end up. When the kerfling rebates were routed and the brace ends trimmed properly, I was able to re-align the body without a mold using a combination of the braces in the rebates and my alignment marks. I just used nearly every clamp in my shop to hold the top down. I did end up with even squeeze out all around.
I did have two things go right for me today. With a guitar one can center the two end blocks in the mold and on the top and call it good. That is where I was at when I thought it would really look bad if the top rosette on the narrow harp neck was not centered. A very small misalignent on the ulkulele part of the instrument can multiple to a significant error up the harp neck. Luckily I caught the error I did have and made sure the rosette was centered. Also I found by hook or by crook, I only needed to add one more t-bolt to make my carrier fit the instrument.
Overall today was the day that I am starting to understand the luthiers that like to work without molds.
July 16th 2012
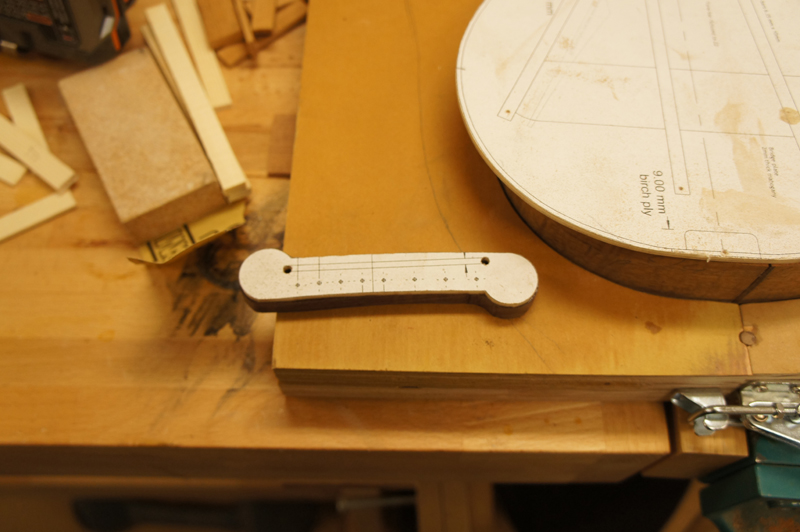
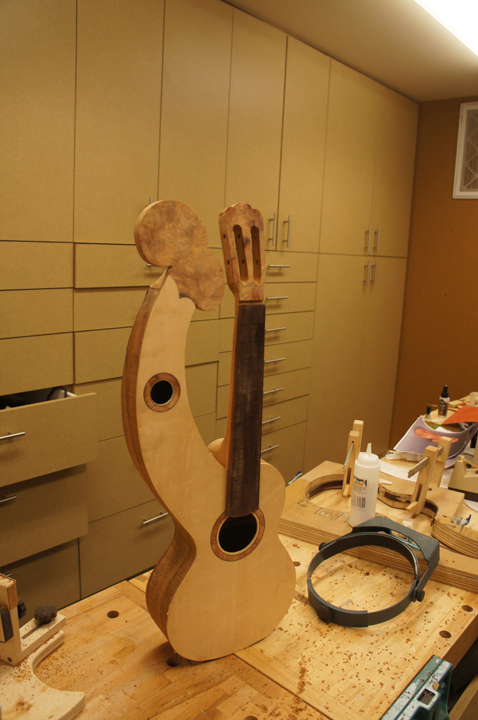
I managed to make a bit of progress this weekend. I successfully trimmed the top where the spruce inlays into the peg head. I had the peg head veneer already routed
so I had to trim the top to the right shape in the right place so that it would match up and allow the peg head to be glued to the harp neck. I had a good template
and made the shape but just a tad long and slowly sanded back the top until it just fit the rebate.
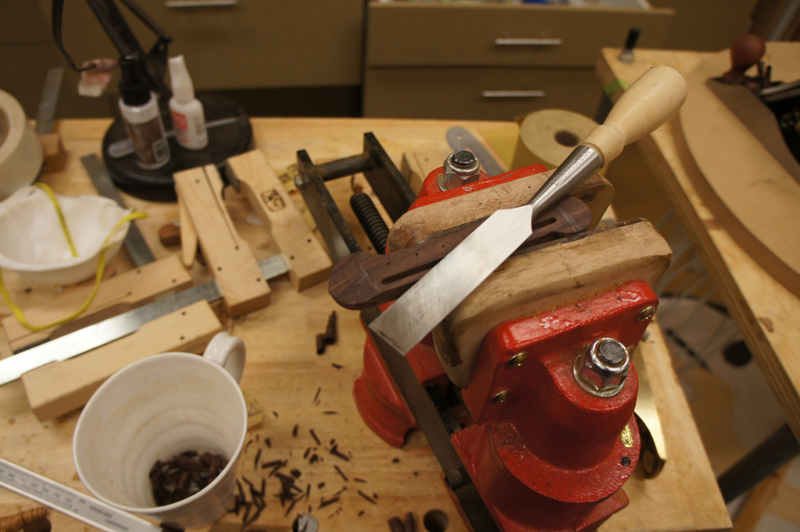
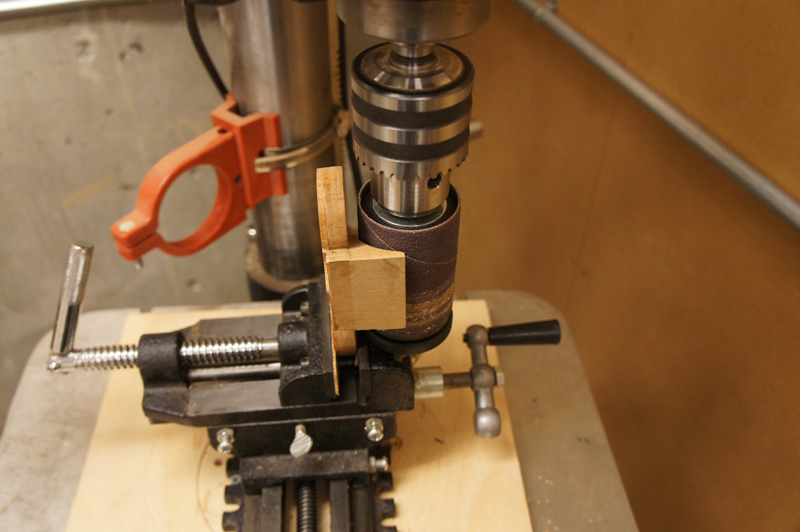
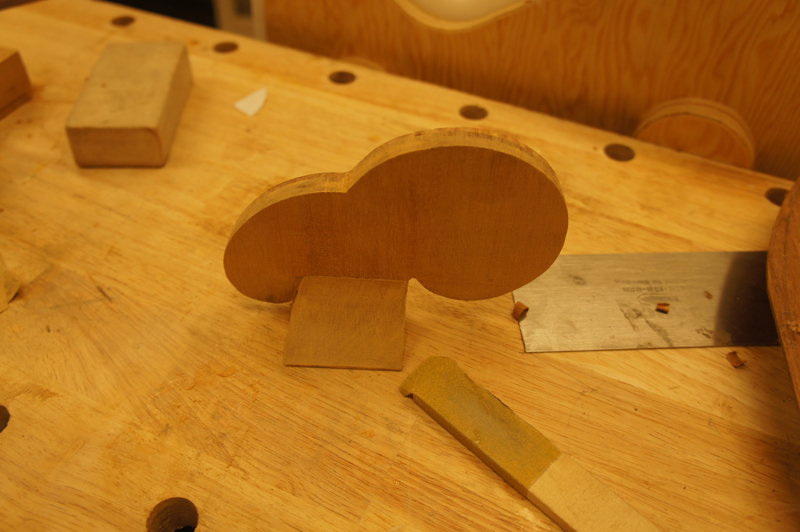
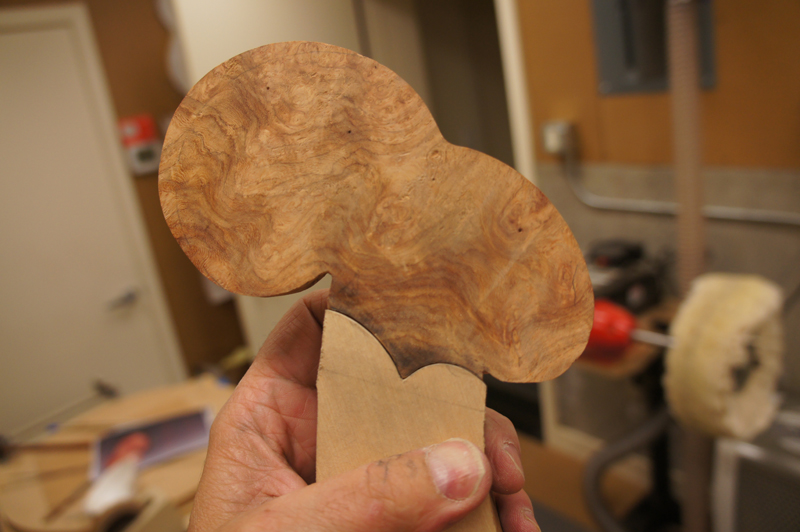 Before gluing the peg head to the harp neck I played around getting it closer to the final shape.
I used my cross vise with a sanding drum to carefully sand the arch down a bit. (Actually it did not take very long before
I got rid of the vise and just help the part eyeballing the lines I wanted.)
Before gluing the peg head to the harp neck I played around getting it closer to the final shape.
I used my cross vise with a sanding drum to carefully sand the arch down a bit. (Actually it did not take very long before
I got rid of the vise and just help the part eyeballing the lines I wanted.)
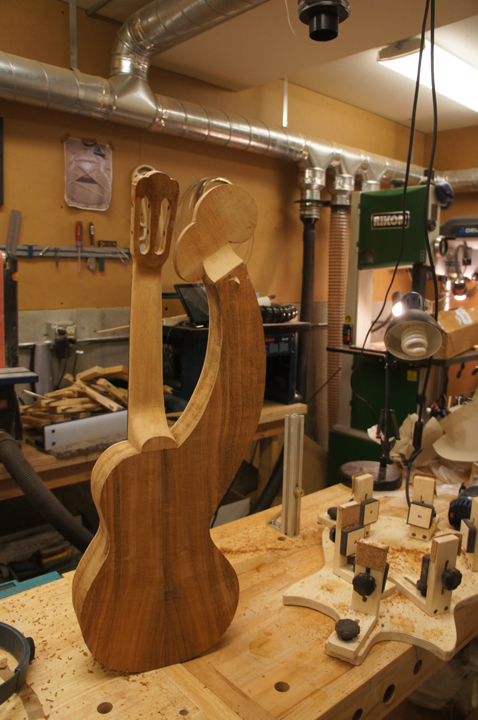
 I was finally able to close the box and trim the edges back.
On to the bindings
I was finally able to close the box and trim the edges back.
On to the bindings
Next Page
| 